Setting Up Document Templates
There are several different letters and forms that are available to print within RBS. You can change these forms in a designated area and these changes will then be available through RBS. For example, you might want to re-word some of the templates to fit how your company does business. You will also want to put a copy of your logo on each form or letter.
The following steps will walk you through how to make the changes to the templates.
Changes should only be made to the templates once and then these same templates should be used the same way throughout the process. This will help to give your business some uniformity. Once you are working in the program you will not be able to make changes to the templates within RBS. Any changes made will not be saved.
Merge Documents/Templates = Templates of documents (letters, forms) that were created for RBS. These documents extract data from RBS and merge it into a Word document. This will create a letter or a form.
Merge Fields = Fields that can be pulled from RBS into a Word document.
Reviewing RBS Templates/Documents
The first step in setting up documents in RBS is to compare what you have versus what forms are in RBS. You will need to decide if you would like to change to some of our forms or if you would like to edit the forms to what you are used to. The best way to do this is to print out a copy of each document you use in your business (example: Lead sheet, Confirmation letter, Design Agreements, Contract Proposal, Change Order, Warranty, Letter of Intent, Partner Plan, etc.)
Then, go into RBS and print a copy of each document in RBS and manually compare. Make notes. Cross out what you don’t want, circle what you would like to keep. We can cut and paste from your Word documents to our RBS documents.
To print a copy of the forms in RBS……..
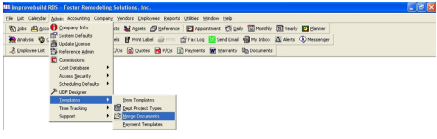
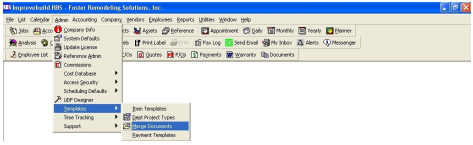
Click on Admin> Templates> Merge Document
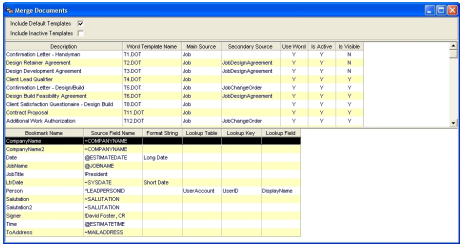
The Merge Document form will be displayed with the list of all available templates.
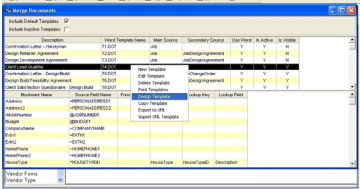
Right-Click on the top portion of the form to see the popup menu.
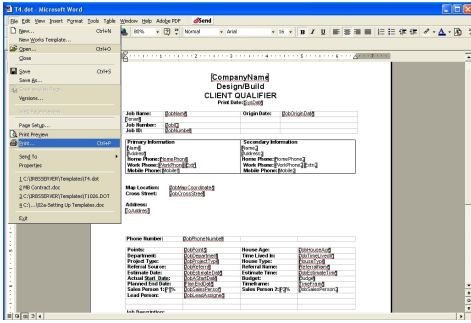
Click on the DESIGN TEMPLATE menu option. The document will open in Word for the user to modify/design.
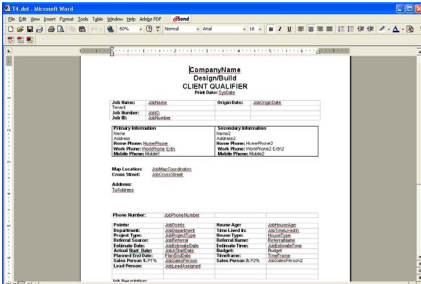
The fields with the [ ] brackets are merge fields and they have been set up to automatically pull information from your job and fill it into the document.
If you do not see brackets around any words, click on Tools menu item from the Word Menu bar to see the available options.
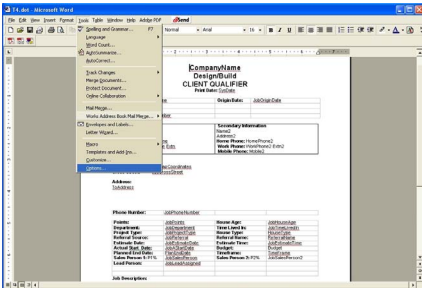
Then click on Options……This box will appear
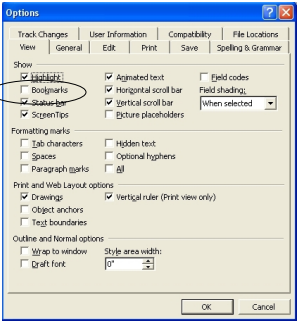
Click on the box next to Bookmarks, then Click OK. Your document should now look like this…..
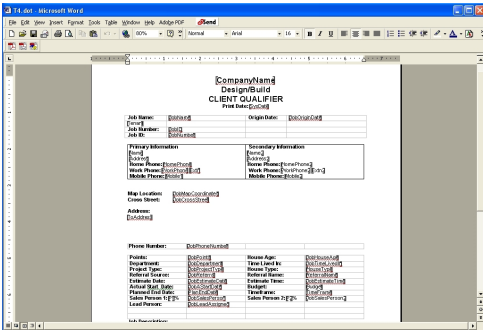
The fields with the [ ] brackets are merge fields and they have been set up to automatically pull information from your job and fill it into the document.
Repeat these steps to print any forms in RBS. Do not make any changes to these forms at this time. We will explain how to do that in the following steps.
Getting Started with Template Design
Click on Admin> Templates> Merge Documents.
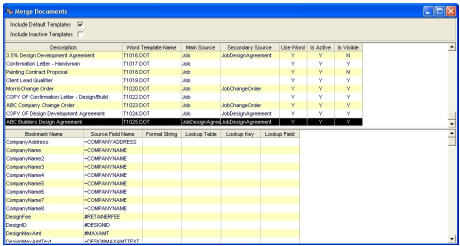
The MERGE DOCUMENTS form will be displayed.
The top portion shows all the available document templates. The bottom portion displays all the merge fields within the selected template at the top.
To get started creating your own documents you will need to make a copy of a document that has already been created. Look through these documents and choose one that is closest to the type of document you are trying to create.
Click on a template, then right-click to display the popup menu.
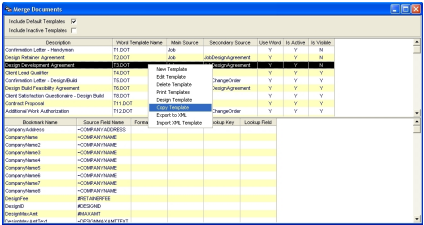
Click on COPY menu item to make a COPY of the selected template.
You MUST ALWAYS make a copy of a template to edit it. The reason for this is because anytime we send an upgrade, any changes made to our original forms will be overwritten. Any time you are making changes, be sure the Word Template name is in the T1000 series. If you are on a document T1-T30 any changes will not be saved.
You will see this box. This is telling you that the template has been copied. It also asks you to rename your document.

Click OK, you will see this……This will show the copy you just made. Now you will need to rename this.
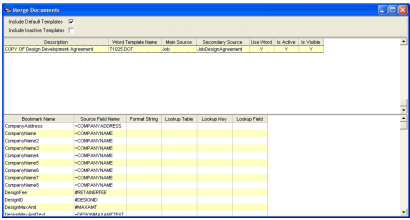
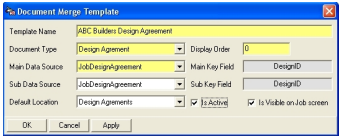
Double click on the COPY. This is where you will rename the document.

Template Name - New name of the template.
Document Type - It is important to be sure to choose a document closest to one of the templates. Document type should remain the same as the copied version.
Display Order - You can enter a numeric value to determine how this document will show in the list or you can leave it at “0” and it will display alphabetically.
Main Data Source - Should remain the same as the copied version
Main Key Field - System Generated
Sub Data Source - Should remain the same as the copied version
Sub Key Field - System Generated
Default Location - Should remain the same as the copied version
Is Active - If this box is checked, this record will be active
Is Visible on Job Screen - If this box is checked, this record will be visible on the Job screen
Click OK. Now your New Template will appear at the bottom of the list, scroll down to find your document.
A document template will be display in Word for editing.
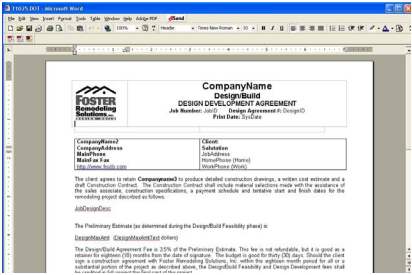
Inserting a LOGO.
You may want to insert your logo here. If you insert your logo one time and save it, it will stay in the template and print on your document each time.
To insert your Logo…
- Click on the current logo and delete it
- Click on Insert from the menu bar
- Click on Picture
- Click on From File
- Navigate to where your Logo is located
- Double click on your logo and it will be inserted into the template