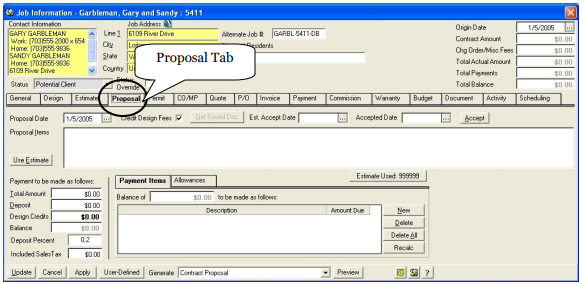
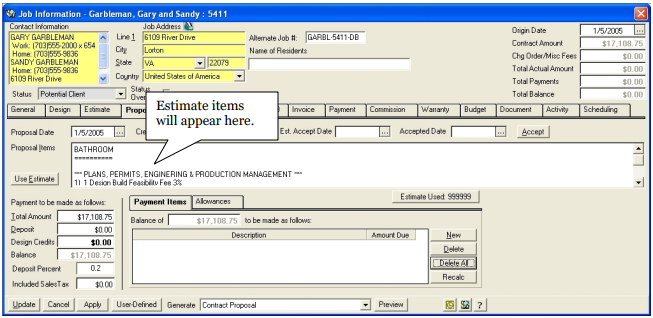
Proposal Tab
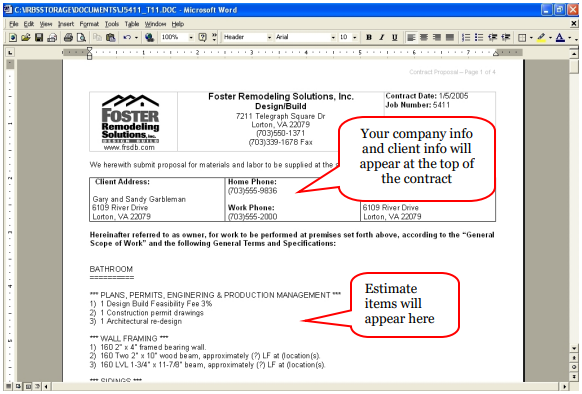
The Proposal Tab is where you will set up a Contract and Payment Schedule. This is where you will generate more invoices and print a Contract Proposal for your client.
Proposal Date - The proposal date will be automatically filled in by the system.
Credit Design Fees - If you would like to credit design fees back to your client then check the
Credit Design Fees box - If you do not want to credit design fees back to your client, then uncheck the box.
Est. Accept Date - If you have an Estimated date that the Contract will be accepted, this can be entered in this field.
Accepted Date - Once a Proposal is Accepted, enter the accepted date here. Entering an accepted date will prompt the program to ask if you would like to generate an invoice.
Proposal Items - This field is a description field. You can free type a description that you would like to be automatically fed into your proposal letter. You can also use the Template Button or the Use Estimate button to put items into your proposal letter. See below for instructions on how to do this.
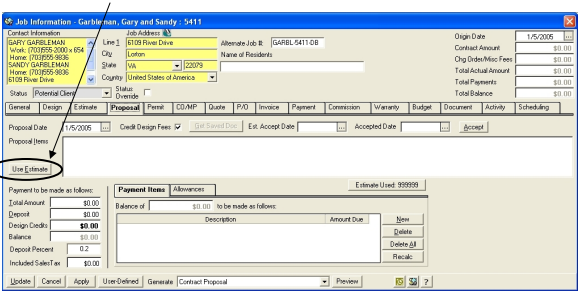
Use Estimate - Click this button to use the items from your estimate. This is what will print in the text of your proposal letter.
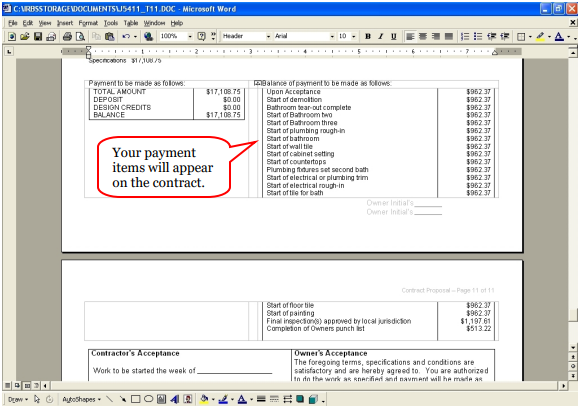
Payment to be made as follows:
Total Amount The program will automatically fill in the total amount
Deposit The program will enter any deposits received.
Design Credits This field will only appear if you have checked the Credit Design Fees box.
Any design fees to be credited will be automatically filled in by the program.
Balance The program will automatically calculate the balance
Deposit Percent You can enter a percentage for deposit here
Included Sales Tax If you include sales tax in your prices, this can be entered here.
Balance of…..to be made as follows: Once you set up a Payment schedule, these fields will be populated with the payment schedule info. (See below for how to set up the payment schedule.
To begin setting up the Proposal…..
Click on the Proposal Tab
Click on the Use Estimate button
A Select Estimate window will appear. If you did more than one estimate, each estimate will appear in the window. Your estimate must be “accepted” to be able to use it to generate a proposal. (To “accept” an estimate, type an accepted date in the Accepted Date field of the estimate.)
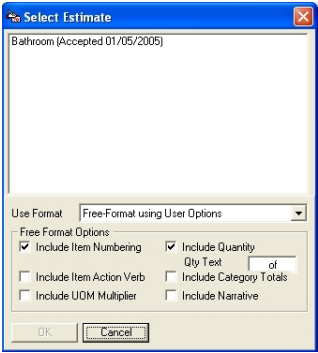
There are a few details that you can add to your estimate items to make it easier for your client to understand.
Include Item Numbering If you check this box RBS will put a numerical number in front of each estimate item
Include Quantity If you check this box RBS will enter the quantity of each estimate item
Include Item Action Verb If you check this box RBS will include the action verb in front of each estimate item. (example: obtain, remove, install)
Include Category Totals If you check this box RBS will calculate the totals for each category and add that to your contract proposal. This will not be an itemized list of charges, just a total of all charges in a particular category.
Include UOM This will add all Units of Measure into the proposal
Include Narrative This will include the Narrative from your estimate items.
Once you have clicked on the estimate item and the details you would like to include on your contract proposal, then click OK.
The system will ask you if you would like override your Current Total Amount with the Estimate Amount.
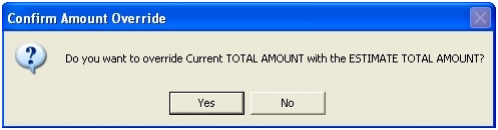
Click Yes. Each of the items from your estimate will be transferred to your proposal and your totals will be updated.
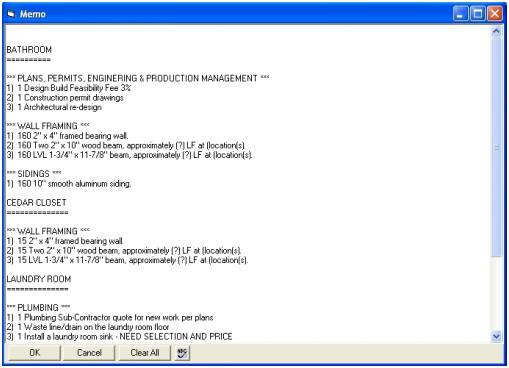
To review your estimate items, you can double click in the Proposal Item box. This will open the notepad for easier review of your estimate items.
Now you will want to make a Payment schedule for your client.
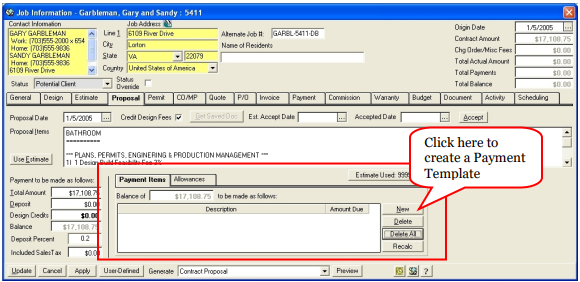
To set up a payment template to go with this contract, click on New and a Payment Template box will appear. (These payment templates have been previously set up. See “Setting up Payment Templates” for more details.)
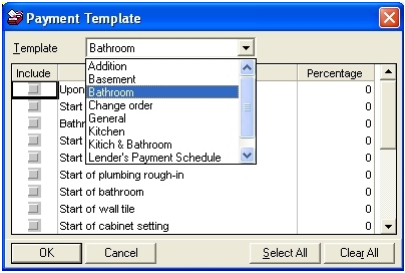
Select a template from the list. You can choose one payment item at a time or click on Select All to use all payment items.

Click the OK button.
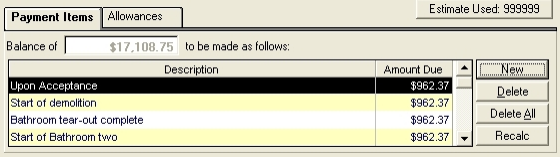
Items will appear in the Payment grid and payments will be equally calculated between each stage of the job.
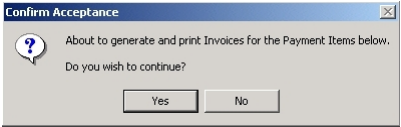
NOTE: To move these payment schedules over to the invoice tab, there must be an accepted date on the proposal. The program will not move the payment schedule unless there is an accept date.
Enter an Accepted Date into the box in the top right of the proposal screen. A box will appear that will ask if you are sure you want to create invoices for the payment items. Click Yes to generate invoices.
You may have some customers who have not done all of their product selections yet, but you would still like to get a proposal together. If this is the case, you can use the Allowance tab to set aside money for these selections.
Click on the Allowance Tab, then click on New

An Allowance screen will appear.
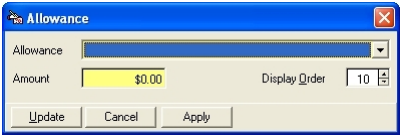
Click on the Drop down arrow to choose an allowance…(these allowances are set up in Reference Admin.)

Enter an Amount for the allowance
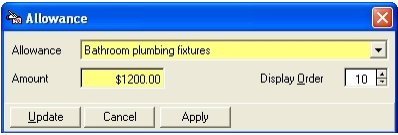
Click on Update to save the Allowance.
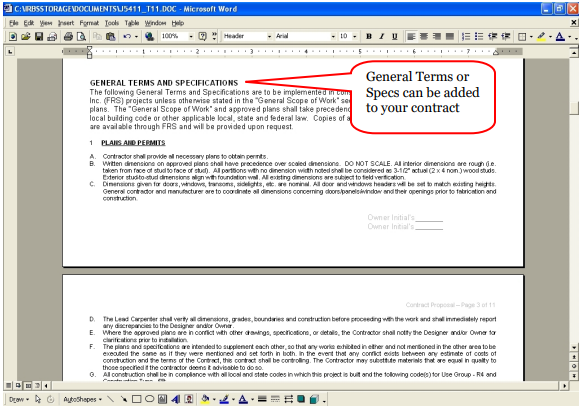
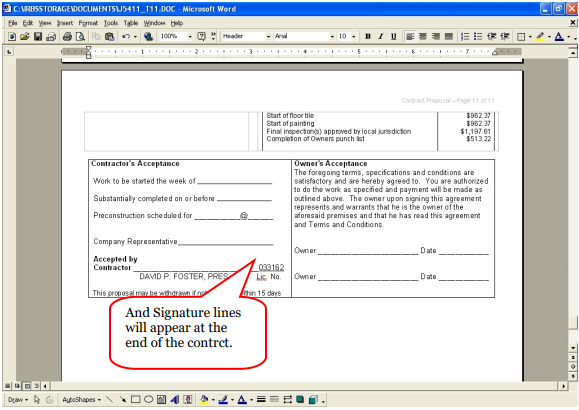
Now that you are done entering the proposal items, you can see a preview of what your proposal will look like.
At the bottom of the screen Click on the drop down arrow and find the Contract Proposal, then click on Preview.

This will allow you to view a copy of your Proposal.